Latte Art: How To
IMPORTANCE OF LATTE ART
In the time of social media latte art has become crucial to coffee shops. There are millions of latte art pictures that are posted daily throughout social media channels. Social media has become a gateway for coffee shops to generate profits by posting eye catching content to lure in consumers. Consumers are no longer only looking at reviews, they are looking at content. There are studies that have come to the conclusion that consumers are willing to pay more for a drink with latte art than a plain drink. Therefore, not only can it make your café appear more interesting, but it can also improve yours bottom line.
Latte art is here to stay…
Many artists will tell you there’s nothing better than a blank canvas, but we at MOCAFE must respectfully disagree. We believe there is one thing better: A blank canvas that tastes delicious.
Confused? Read on.
We’re talking of course about lattes, and the recent explosion in latte art popularity. From artistically inclined baristas decking out drinks for an extra tip, to global (and highly competitive) competitions, latte art has left its everlasting mark on the coffee scene.
Check out this graph from Google Trends showing the growth in popularity since 2004:

LATTE ART: HOW TO
If you’re looking for a “Latte Art How To” then look no further.
Believe it or not, there’s a bit of science involved in this process. While it boils down to mixing espresso, crema, and milk, the milk has to be properly handled in order for it to work. Using regular, cold milk will not leave you with any beautiful tulip on top of your drink. Instead, it is important to first steam the milk, as latte art milk temperature and texture is extremely important. There’s a couple of ways to properly steam milk.
Start by pouring cold milk (33° – 35° Fahrenheit) into a cold pitcher. It is advised to leave the empty pitcher in the freezer beforehand to keep it cold.
Once the milk is poured into the pitcher, place the steam wand just beneath the surface of the milk, and towards the edge of the pitcher. Activate the steam wand, and slowly turn the pitcher until the exterior is room temperature to the touch.

Dip the steam wand towards the bottom of the pitcher, while continuing the rotation of the pitcher. Continue to heat the milk until it reaches just over 150°f, being careful to never let it reach 160°f. If you’re doing latte art professionally, you should be using a thermometer to make sure that you don’t scald the milk or underheat it. However, if you’re trying this at home you may have to use your best guess. If there’s no thermometer handy, stop steaming when the pitcher becomes hot to the touch.
Once you’ve removed the steaming wand, knock the pitcher against the counter a few times to remove any big bubbles. Big bubbles cause inconsistencies in the pouring process which can wreck your design.
Once you have a latte poured, and the milk is steamed, you’re ready to begin your masterpiece (Okay…if you’re currently reading a “how to” article, you probably won’t be making a masterpiece anytime soon but stay positive).

There’s a couple of techniques to keep in mind during this latte art step by step.
The speed at which the milk is poured is incredibly important. For the sake of carefully crafting your artwork, you’ll want to avoid pouring too quickly. However, pouring too slowly can have negative effects as well. When you pour too slowly, you allow the aerated milk to separate from the regular milk. This leads to regular milk pouring into your latte and the aerated foam being left in the pitcher, which will not allow you to craft a beautiful design.
The height of the pour is another important aspect. While filling the cup, start by pouring from about six inches above the cup. This will allow the milk to mix with the espresso, creating the creamy color of a latte. However, as it surpasses half full, lower the pitcher just above the surface. When adding your design, the jug should be held close to the surface since pouring from too high causes your foam to submerge below the surface rather than nesting on top.
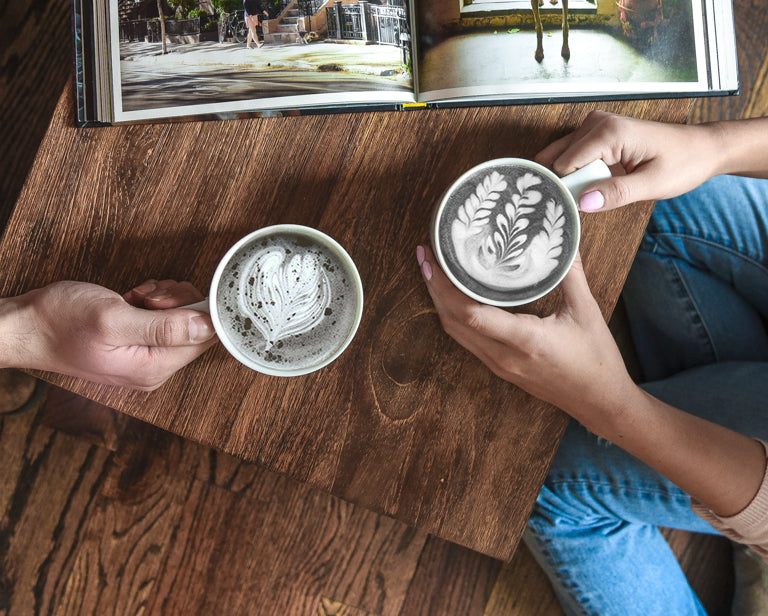
Arguably the easiest and most popular designs, latte art tulips and latte art hearts are a great way to get started.
For absolute newbies, start with a heart.
Once your cup is roughly ¾ full, move the spout to as close to the surface as possible. If you are pouring at the correct speed, you will see a circle start to appear on the surface. Continue pouring at a steady speed until the circle is as big as you want the heart to be.
Then raise the jug a few inches, and quickly dash a straight line of milk through the circle. Raising the pitcher makes the milk land with more impact, which causes the indention in the top of the circle. The speed and direction of the pour will cause the bottom of the circle to stretch out to a point, ultimately leaving you with a heart.
LATTE ART COMPETITION
Okay, so you’ve read a tutorial, maybe watched a YouTube video or three, and you’ve managed to make a sort-of, kind-of heart shaped thing. Well done. It’s going to take a lot more work to make it into the big leagues.

Believe it or not, there is an entire industry based on latte art competitions, most notably, the World Latte Art Championship. It’s an annual competition that brings together baristas from every corner of the globe, competing for thousands of dollars in prize money. If you think a simple heart or tulip is going to win this competition, think again. Competitors create intrinsic designs ranging from incredibly difficult geometric shapes to unicorns and dragons.
For the rest of us, a simple heart or Rosetta is all that’s required to feel accomplished. Afterall, it is certainly no easy task. If you are working as a barista, and have dozens of chances per day to practice, you’ll likely pick it up quickly. However, if you make one latte per day at home, it’s an art that will take you quite some time to perfect.
If you try and try again with no luck, there’s always a light at the end of the tunnel. Afterall, your canvas is a delicious latte that is begging to be consumed.
If you want to try it on your own, buy a case of our Charcoal Mocha mix to make dramatic and eye-catching lattes.